Showing posts with label jewelry. Show all posts

Friday, February 03, 2012

As Promised: My New Honey Badger Project

Honey Badger Don't Care.

Honey Badger don't give a s*%#. Look at him with that cobra.


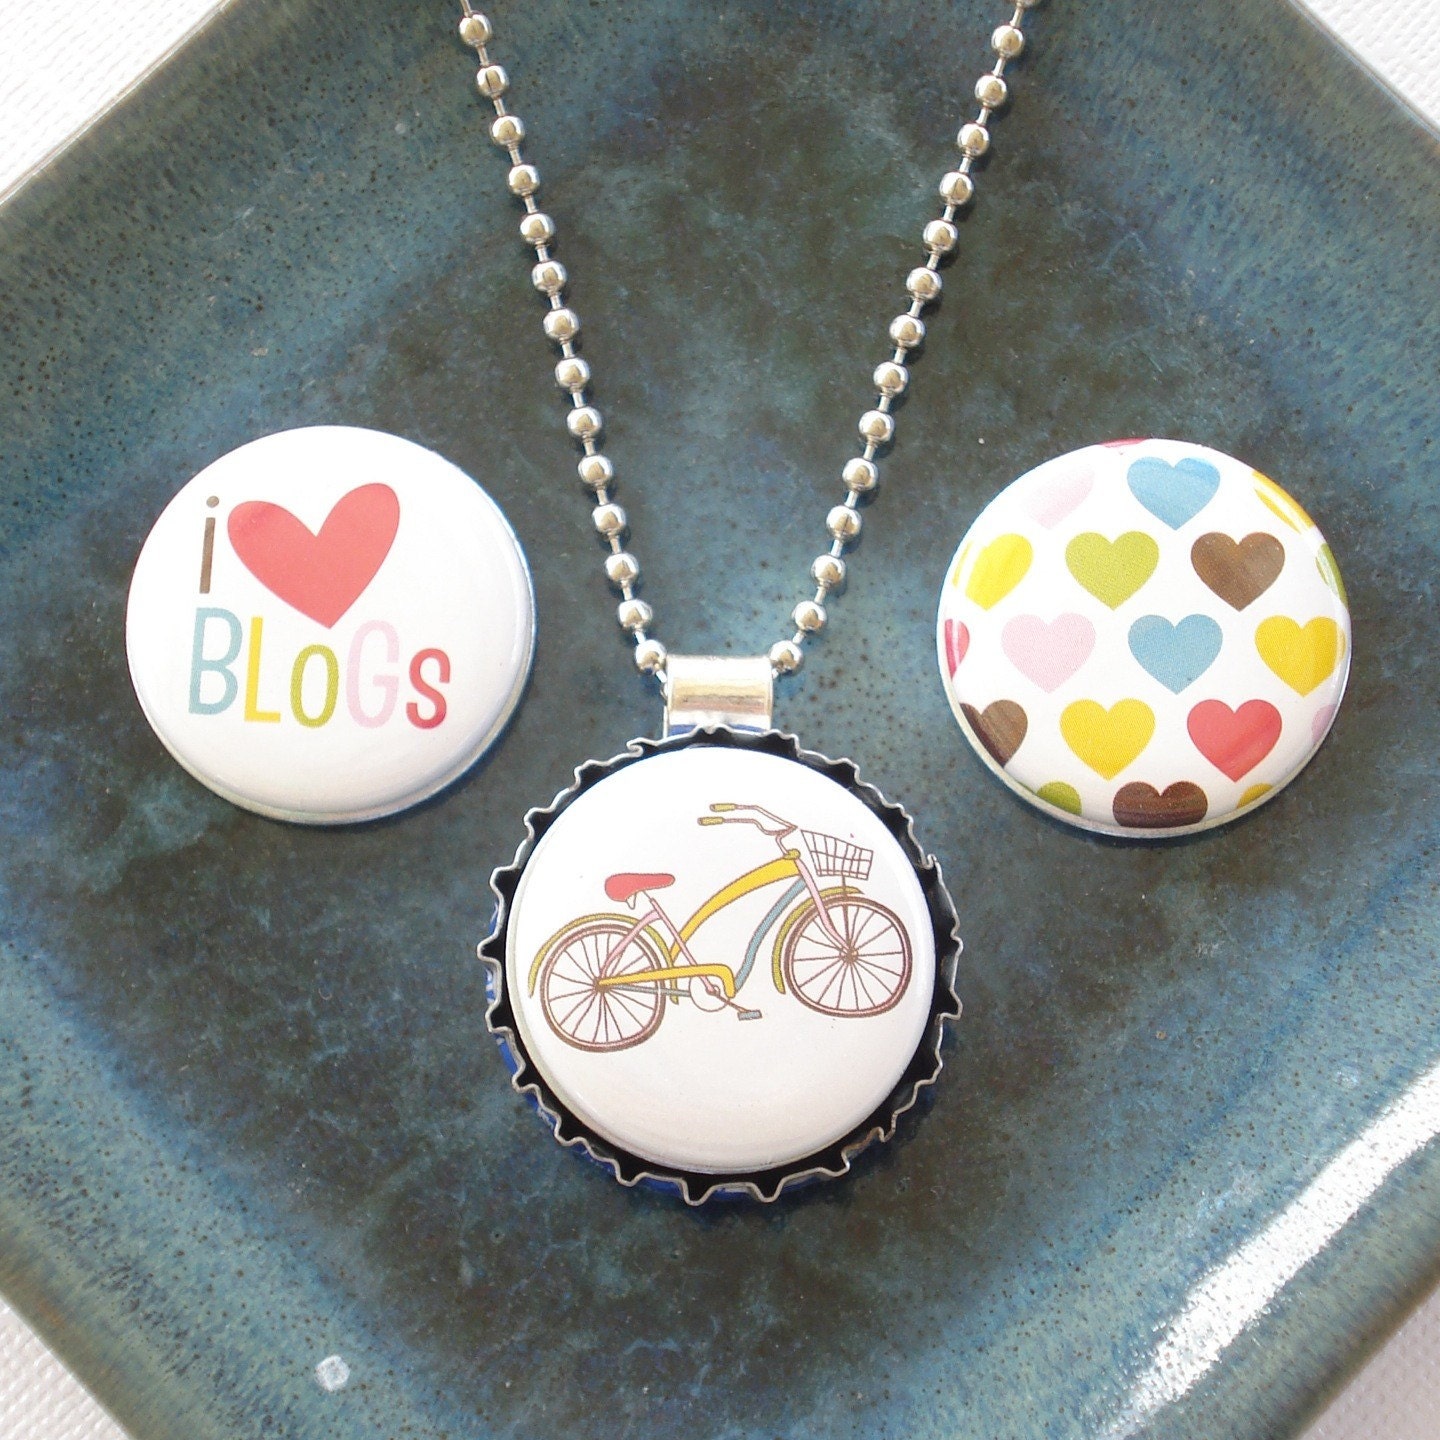
My roller derby necklaces are taking off locally. I'm hoping it will move nationally soon, as I'm doing a giveaway for them on a popular roller derby blog. 

The honey badger necklace came to me when watching the video in the previous post. Rollergirls are a tough sort of cookie, and I knew they would enjoy these. But I can't draw very well.

So I hired it out. My good friend Laura Hansen, of Red Eft Studio, agreed to the job. I knew whatever she came up with would be perfect, and I was right.

The commissioned artwork, therefore, is enhanced by me with glitter sauce, and encased under glass. The components are sterling silver. I have another idea to use a map of the U.S. and heart charms. I'm still trying to figure out exactly how to cut up the map. 

Click either of the photo captions to read more about these necklaces. If you care. (Which honey badger don't. I know.)

Tuesday, October 25, 2011

Vendor Tuesday

It's vendor of the week! I really should figure something out for each day of the week, to keep this blog both

a) rolling, and

b) relevant  and

c) useful.


So I'm starting with Tuesday, and calling it Vendor Tuesday. I will do a little write-up with a link to a favorite vendor of mine, inviting commentary about said vendor. That's relevant to crafters in business, right?

So, one of my favorite craft vendors is Sun and Moon Craft Kits.  This shop carries Diamond Glaze, which I love, and all sorts of jewelry components for Scrabble tile jewelry, and other pendant-type things. Oh, and they also have those neodymium super-duper magnets.

Did I spell that right? Yes, I think I did.

Do you source  your vendors online? Who you do like?

Wednesday, October 19, 2011

Needed: Glue

I need a crafty recommendation. I am gluing glass domes on top of paper artwork inside pendant trays. I now realize I should have glued the paper TO the dome, and then put those inside the pendant trays. I will do that next time. As it is, I have to resort to putting Diamond Glaze on top of the artwork, and pressing the dome on top, keeping it pressed down with a book. I plan on cleaning up the goop that gushes out, afterward. 


Any other thoughts, besides, "Dang, she's an idiot?"

Sunday, October 09, 2011

Crafty: Full Speed Ahead


This!  This is part of what I've been working on. This project is holding all of my attention, and when pesky things like "working for a living" get in the way, it helps me to stay sane. I don't have all my eggs in one basket, but if I can make this work, it will be a very, very good thing. Stay tuned.

Friday, June 24, 2011

How To Write a Craft eBook for Craft e-Revolution


A photo from my upcoming book, Handmade Holiday, Volume 1.


At Craft e-Revolution, I have created an outlet for crafty folks to be published, in a modern, yet old-fashioned way. Authors do not pay to be published--I decide what to produce. That's the old school part. The new school part is the fact that I don't offer an advance, but I do offer a hefty cut of the proceeds. Authors are paid off the selling price of the book, straight-up. Since we are both investing a lot of time and effort into the book, both the author and I are motivated to try and sell it. I see this as a win-win situation.

However, I'm not sure how many crafters know how to write a tutorial ebook. If that's you, but you have a good idea for a book, then maybe you just don't know how you will proceed. I can help with that! That's what this post is about.

Many tutorials have only step-by-step directions, and that's it. The ebooks that I want to read (and therefore the ones I write and publish) will have photographs of every step of the process. Most people are visual learners, therefore I believe craft tutorials should be full of photos.

But where to begin? Writing a craft tutorial ebook is not as daunting as you might think. I will outline my process below. It works for me, and I hope it will work for you. Your comments and questions are always welcome. Let me know what you are thinking!


Which to choose?

Step 1: Choose Your Craft
If you are anything like me, you will need to slow down and choose only one. If you are good at only one craft, then choose that one. Don't worry about the other books written on that
subject. That's not the point. Choose a craft that you know well, and think you could describe to others with photos and words.


I use a pocket camera, and you can, too.


Step 2: Make the Craft, Photographing Each Step and Recording Notes

This is the part that seems backwards, but it is essential to do it first, and not last. Photographing the craft should be the first thing you do to prepare your book. Take photos of every step of the process, including materials, the layout of the process, and every single step from several angles and distances. Use more light than you think is necessary. Turn on all the lights, bring in a few lamps, open the drapes.

While you are making the craft, you will have thoughts that your readers should know about.


I love my iPhone! It's amazing!


I use my iPhone's "Voice Memo" feature (shown) to record important thoughts. Your phone will probably have something similar. Turn it on, speak the note, and then pause it. Take more photos, have a thought, click the recorder, record your note, and pause it. Continue in this way throughout the crafting process. Sometimes I find myself dictating the entire book to the recorder. If you are that way, you might consider the free Dragon Dictation app for your phone. It will write what you say, and you can save the text and work with it later. Yes, this particular craft project will take you a lot longer than usual. The end result will be worth it.


I'm Drafty Drafterson!


Step 3: Begin Drafting

You think this is the hard part, and I am happy to report that you are wrong. Start drafting with photos.
  • Load the photos onto your computer, saving them in a file marked with the working title of your book.
  • Edit the photos: crop them, enhance the lighting or color, etc.
  • Save! Save! Save! Save after each photo edit!
Open up your word processing program. I write all of my ebooks in Pages (Apple software). Word will work, too. Insert the photos into the document, one by one, in order. Then, when all the photos are in the document, start drafting with the first one.

Use simple, straightforward language to tell the reader what to do. Write "Step 1, Step 2," as needed. Take notes as you go, directly in the document, about photos you still need, direction that needs elaboration, or places that you want to add information but must check on specifics first. When you've written most of it, turn on your voice notes and listen to them. Fill in any gaps with your voice notes.


Step 4: Add Value

After you have described the process, stop and take a break.


Sluuuuurrrrp!


Break's over!

Boo!


Now, you must add value to your book by adding information for your readers. What would make the book better? Recipes? Photos of variations of the craft? Descriptions of the variations, with more photos? A list of Internet resource links should be included, always. What about a "troubleshooting" section? An FAQ? Write these sections up, too. If you can't think of any questions that are frequently asked of you, because you are a first-time author and wtf? Please, don't worry about it. The FAQ section can be created later.


Snooty, Mustachioed Professor Judges All


Step 5: Edit It

Yes, this is the tedious part. Just do your best. Here, I'll help you:

  • Read through your draft, out loud. Trust me on this. Read every single word out loud. You will find places where you forgot to write a word, or wrote two in a row, or other silly mistakes like that. You might find spelling errors, too. Correct them! Correct your punctuation, too.
  • Open up another document (or a sticky note or simple text file), and read through your draft. Write down the first word of each sentence, making a vertical list. After your list is finished, note places where you repeat a word. Go back and re-write those sentences.
  • As above, make a list of every verb in each sentence. Active verbs (stitch, sew, pour, measure, cut) are best. Also check for repetition in this list, and go back to re-write sentences that need it.
Step 6: Put Your Author Information on the First Page

At the top of your document, insert a blank page. On this page, list your name, mailing address, phone number, email address, and a working title of your book.


Yay! You did it!


Step 7: Send it in!

Send it to me! I can't wait to read it. I love crafting and especially tutorials, which is why I am this kind of publisher. I want to read your book!

Yes, the process might take a while--I understand that. But even if you haven't written the book yet, I want to hear from you. Let me know your ideas for your book ahead of time, and we'll talk. Writing a book is a satisfying process which is fulfilling in many ways. I hope you consider it--the world wants to learn what you have to teach.

So, was this helpful to you? Please leave a comment, and let's get a conversation started.

Friday, June 10, 2011

Featured Crafter: Rebecca George of purpleandlime


Please welcome Rebecca George of purpleandlime on Etsy, this week's featured crafter. Huzzah for bacon!


How do you find out about craft fairs in your area? Do you belong to a crafter's alliance?


I find out about craft shows in the area through word-of-mouth, Facebook, and Twitter (and sometimes I hear about a show at another show!). I'm a member of the Chicago Style Crafters Etsy group and we have regular meetings in the city. I do all of my own research for my fashion inspiration. I do not sell exclusively online; my jewelry and accessories are sold at two shops here in Chicago (Wolfbait and B-Girls, and Paper Boy) along with various craft shows.


What was the impulse to start your business?

The impulse to start my own business has been there since I was a child and wanted to be a fashion designer- I knew I would have to start my own line to express myself through fashion. After many office jobs that didn't make me happy, I figured it was now or never to use my fashion degree I had worked so hard to get in London, England.


What is your niche? Why did you choose that niche?

My niche is catering to women who love fun and color. I have heard from many of my customers that my work has a sense of humor, and that makes sense as I value humor in regular life (I love comedy, esp. British shows like Ab Fab, etc).


Which colors interest you the most right now? What is inspiring you, creatively?

Right now I am very fascinated by flowers and bold spring colors like yellow, orange, kelly green, and shades of blue. I always love to work with jersey and wool, as well as recycled eco-felt because it is so versatile and can be used on clothing and in accessories. My current collection is entitled "Houses"- inspired by dollhouses, attics, and garden flowers.


What piece of advice do you wish you had, when starting your business?

The advice I wish I had when I started was to not be afraid to ask other artists and business owners for advice! The amount I have learned from others has been so valuable and taught me so much. Pass that advice along!


What question would you like to ask our readers?

I would like to ask your readers what their favorite color is because I am fascinated with color. My boyfriend is color-blind and I always wish I could see how he sees for a day.


Are you obsessed with bacon?

LOL! I am obsessed with images and art with bacon themes, despite being a vegetarian since age 16, a big animal lover, and part Jewish. I make bacon and other breakfast items because I love iconographic, bold pop-art (like Warhol), and find it very humorous. My paternal grandfather worked for a national hot-dog and sausage company, so packaged meat was always around as a kid.


Where can we find you online?


Thanks for the interview, Rebecca! Readers, what say you? I say, "More bacon!"

Friday, March 18, 2011

Featured Crafter: Alison Goyette of Boston Sea Glass on Etsy


For your inspiration, today we offer a glimpse of nature, elegance and the shore. Please welcome today's featured crafter, Alison Goyette of BostonSeaGlass on Etsy.


Describe your online selling experience.


Right now I sell online at Etsy. It has been a huge learning experience for me, but it is so satisfying to create something and have someone send you a note telling you how much they love it--especially if it is for their wedding day.


What was the impulse to start your business?


I had been selling sea glass in bulk to other collectors and crafters since 2008. In September of 2010 I lost my job, and decided to give this a try. I was blown away by the response, and had a wonderful holiday season, sales-wise. That got me really inspired to dive right in.

Anytime I talk about sea glass, I notice that people go all soft dreamy and say, “Oh I love sea glass." So many people have told me that they collect it with their moms, or grandchildren or best friends. There is a something magical about sea glass, not just the pieces themselves, but warm memories people seem to associate with it. I think that accounts for more than half of my sales.


Jewelry crafting is competitive. What is your niche? What sets you apart?


There are a lot of jewelry crafters out there, and no shortage of sea glass jewelry crafters. I am still working on discovering my niche. I started wire wrapping basically because I don’t have the right drill to create drilled sea glass. But I think I have come to prefer the wire wrapped look; it adds a little personality to each piece. Also, I try to do everything very simply. I don’t want the glass to look like it is being held prisoner by the wire. My goal is for it to look "flowy," and allow the sea glass to be the focus.


Where do you get your sea glass? Do you collect it all yourself?


I collect most of it on a beach near my home with my mom, my husband or my 5 year old son. I also find quite a bit at a beach that my dad and his wife showed me, but they swore me to secrecy as to its whereabouts.

The area where I live, Hough’s Neck, was a popular tourist destination at the turn of the century. There was a street car that brought visitors here from Boston, and they left a lot of glass behind. Also, there is a ton of sea glass out on the Boston Harbor Islands. I don’t have a boat to access them, but my neighbor and her sons have brought me some of the most beautiful pieces from islands.It is a little challenging to be dependent on the ocean for your inventory. If something sells well, I am at the mercy of the tides to get more. Luckily I have friends and family who are willing to let me pick through their collection. I just did a custom order of twelve coordinating necklaces for a wedding party and I had to go house to house, digging through jars and vases.


What do you see for the future of your business?


I am hoping to expand the business and do some craft shows, add more items for the home and create an entire wedding line. I was married in Key West and love the idea of beach weddings. I would love to make a sea glass tiara, although it would be heavy.

And here' a twist, readers. Instead of answering the standard last question, Alison has a question for you:

How do you get to know who your customers and and what types of things they are looking for when you primarily sell online? Is there a faster and more cost effective way than simply trial and error?

Thanks so much, Alison! Readers, please reply to Alison in the comments. Also, if you are interested in purchasing an item from her shop, she is running a free shipping promotion, through Mother's Day, with the code MOTHER2011.


Friday, March 11, 2011

Featured Crafter: Jessica Partain of Inedible Jewelry on Etsy


Please welcome Jessica Partain of Inedible Jewelry to our featured crafter party. With her sister, Susan, she creates teh kyootest (but inedible!) miniature foods and turns them into jewelry. Their items will appeal to all of us who love teeny-weeny cuteness. Count me in.


Your inedible food jewelry is adorable. What was the impulse to turn this artwork into a business?


Thank you! Susan and I have been sculpting our tiny foods since we were kids. We started out making foods for our dolls, and developed a passion for it. We kept making the minis, and decided they were better suited to jewelry than tiny tables.In 2006, we decided to try selling our pieces at the local Charlottesville City Market. The market is hugely thriving and a major social tradition on Saturday mornings- everyone goes to get fresh local veggies, locally-roasted coffee, and the fried-on-the-spot cinnamon sugar donuts. We were lucky to have such a great market that provides a lot of support to local artists, farmers, and food vendors.We set out a little table with just a few pieces, and immediately people connected with our work. From there, we built up slowly, and were lucky to have such great feedback from people each Saturday morning. I went full-time with the business in early 2007. Susan is part-time (she is equally passionate about her full-time job working for a non-profit up in DC.)


How long does it take you to make your items? Do you make them in batches?

Just like a real bakery, we do make most of our pieces in batches. There's burger day, cupcake day, etc. Each piece is assembled very much like its real-food counterpart. For example, when we make the burgers, we create the bun, the lettuce, the tomato, the patty, the melty cheese, and then assemble all of the pieces together. Then we make sure t
he bun looks nice and toasty and add the sesame seeds (each one made by hand!) on top. If you'd like to see how we make the burgers, we have a fun YouTube video.


Please describe for our readers a typical Day in the Life of a Fancy Fake Food Jewelry Maker.

Susan works full-time, so she does her sculpting after she's home from work and on the weekends.I'm full-time, so my day is all about the tiny food.


9.30a coffee, english muffin (with bananas and almond butter- yum!), email, a quick scan of Twitter and Facebook


10a to-do list for the day, print off any orders that need to be shipped, thank you notes


10.30- I flip on my Pandora happy mix and get sculpting

lunchtime- coffee, lunch, email, Twitter, Facebook, maybe flickr (especially if it's Wednesday, when I try to post photos of my works-in-progress)


1ish- sculpting, photography

3ish- finish up packaging orders that need to be shipped

4ish- post office run, and then head to the gym with my fiance, then dinner, something fun (Wednesdays it's always Modern Family, Thursdays it's often salsa dancing)

Later: I often head back to sculpting for a couple of hours after he heads to bed (he owns a coffee shop, so gets to bed early since he'd up around 5a).

After 10p, that usually means hoping that Hulu and Netflix have some great overly-dramatic shows to listen to in the background. A last check of email, Twitter, and Facebook, then I head to bed and read for half an hour or so.


What sort of networking and promoting do you practice? What do you recommend to others?

We're on Twitter, Facebook, and flickr, and have found all three to be great forms of networking online. I enjoy chatting about all things food and miniature, so those are the kinds of conversations I end up having. In real life, we're at a market or show once a week from April through December, so we meet lots of people. I recommend social networking o
nline only if you're interested in conversations with people. I love the Twitter chats about new foods or recipes, the Facebook comments about new work and how we could tweak it, and the flickr chats about beautifully photographed foods and crafts. They're the conversations I have in real life too.


The fifth question is always the same: what advice do you wish you had when you started your business?


1. Have an accountant set up your spreadsheets, or give you advice on setting them up before you begin selling. It's MUCH easier to just update them than do this retroactively. If you don't know the first thing about bookkeeping or spreadsheets, hire an accountant to do it for you- it's money well-spent, and not expensive.


2. Spend out. This idea comes from Gretchen Rubin, author of one of my favorite blogs, The Happiness Project. This doesn't mean spend ridiculous amounts of money on your business (I'm a huge advocate of growing slowly so as not to go into debt, but that's off-topic!). Rather, "spend out" means to not hold on to ideas for fear. Fear that you'll be copied, fear that you'll never have another good idea like this one, fear that you should "save" this idea for a specific time. Let that brilliant idea out into the world! Let people comment on the idea, see how they react to it! You'll clear that mental space where you were holding the idea, and the feedback will spur you to have 100 new ideas.


Thanks so much for sharing with us, Jessica! Readers--what about Jessica's story inspires you?

Friday, February 18, 2011

Featured Crafter: Tera Larson of CreativityisMessy on Etsy


Please welcome Tera Larson of Creativity is Messy on Etsy. I find her items quirky and fun--Spokane, Washington is lucky to have her. Please read her interview and join the conversation by leaving a comment.


1. How do you find out about craft fairs in your area? Do you belong to a crafter's alliance? Do you do all your own research?

I am part of the Eastern WA Etsy Street team, and get a lot of information about craft fairs from other team members. I am also an avid craft fair shopper and have been for many years - so I know about many annual fairs in my area.


2. What was the impulse to start your business?

I got hooked on making jewelry years ago when my daughter was little. I was a single Mom, working my way through college and I couldn't afford all the pretties and bling that I wanted. I decided one day as I walked through a craft store to begin making my own. Then, I started making gifts for other people. Eventually I began selling my work, then someone introduced me to Etsy and Creativity is Messy was created.


3. Jewelry crafting is competitive. What is your niche? What sets you apart?


I would have to say my niche is recycled but beautiful products. A great example of this is my Recycled T-Shirt Flower necklaces. I've always loved using recycled materials when making jewelry. I found that I had an abundance of t-shirts that I had around the house from various charity and volunteer events (my husband and I do a lot of volunteer work). Eventually, I came up with the idea of sewing the t-shirt material into flowers and making different pieces of jewelry out of them. I hadn't seen it done this way before, and I was looking for a way to really set me apart from other sellers. It has been one of my biggest sellers.


4. Which materials interest you the most right now? What is inspiring you, creatively?


I've been playing around with Shrink Plastic, but haven't "perfected" the process by any means. I love vintage and antiques, and found myself doodling things that have that feel to them. Eventually, I hope to sell my doodles by drawing them on the plastic and making them into charms for jewelry.


5. What piece of advice do you wish you had, when starting your business?

Sometimes you're up and sometimes you're down (in terms of sales). If you work as hard when you're up as you do when you're down, the ups and down seem to even out a bit.

*****

Thanks so much for sharing your thoughts with us, Tera. Folks, please click on the photos and visit her shop, spread the word via Twitter or Facebook, and leave a comment. If we all contribute to the conversation, we can learn a lot more. Also, feel free to email me {theoldecrone at gmail dot com} with an idea for another featured crafter, if you have one. I already have several lined up, but I would love to have lots more. Let's make this a regular feature--and my "regular" I mean at least bi-weekly, if not weekly. No giveaways needed, I have decided. I just want to give indie business some exposure-- it's my way of giving back.

Thursday, October 02, 2008

So I analyzed it

Here's my dream analysis, thanks to Dream Moods:

The kissing just means that I respect and adore that person. This is not news to me.

Here are the aspects of the other dream:

Necklace: it represents unsatisfied desires, particularly regarding my influence and power over others. It also highlights my intellect.

Velvet: distinction and honor, sensuality and emotions

Vines: ambitious thoughts/ideas

Diamonds: the wholeness of Self, finding clarity in matters that have previously been obscured, might point to my unyielding nature

Famous people: indicates an increase to my prosperity and honor

Therefore...

I want to use my intellect to influence others. My plan to do this is ambitious, but will lead to financial prosperity, as well as self-actualization.

Well, now, that was simple, wasn't it?

Wednesday, October 01, 2008

Dreams

I don't often remember my dreams. This is the dream I woke up to on Tuesday:

...I was walking into the Pepsi Center, but it wasn't the Pepsi Center--more like a huge tent outside of it. Everything was distorted, as my dreams tend to be. I was walking around with Kira, and all of a sudden we were backstage. Very glad to see us, Gene Simmons and Paul Stanley of Kiss waved and said hello. One of them gave me a piece of jewelry--a necklace that had a pendant that was almost a collar--it was worked metal, with diamonds in it here and there; the metal looked like thickened, stylized vines. The ends of this metal piece were attached to a thick, black velvet cord. Someone tied it around my neck, and I was wearing it proudly. Kira was with me this whole time we circulated backstage at a Kiss concert. ...

Well, I didn't wake up to that one. First, I woke up to a kissing dream. Actual kissing, not the band. No, I wasn't kissing the band, either. It was cool to remember two dreams, though.